Here at Questner, we get a lot of questions about how to create your own campaign and how to publish it. Our amazing Discord community can help with most of them, but we wanted to share some basic tips and tricks to get you started.
Getting started
First, go to New game and select Custom Adventure. This brings you to the game creator, which will help you build the game you want.
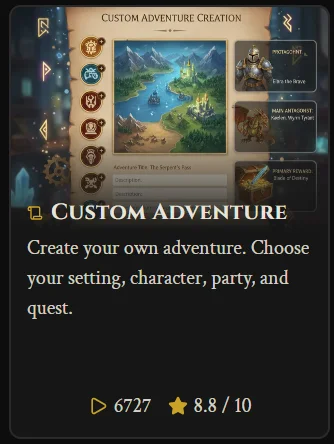
Here you'll see a box where you can type, plus a few basic settings we'll get to in a moment. What's important to know is that there are two ways to create a game: let the Game Designer AI design the campaign for you, or type your own details into the Game Description. Usually, a mix of both works best.
Choosing your AI
At the bottom of the right-hand panel you'll find Creator Settings. Its drop-down menu lets you pick the AI you find best suited to what you want.
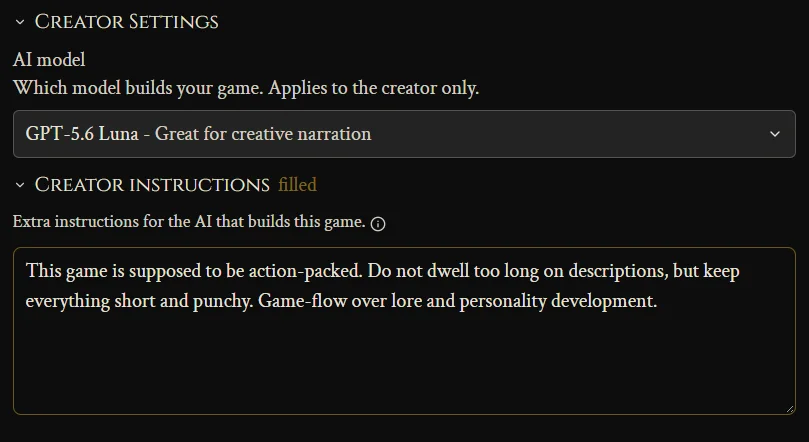
You can also add creator instructions here, to steer the style, tone and structure. They apply to the creation of this particular game.
The game description
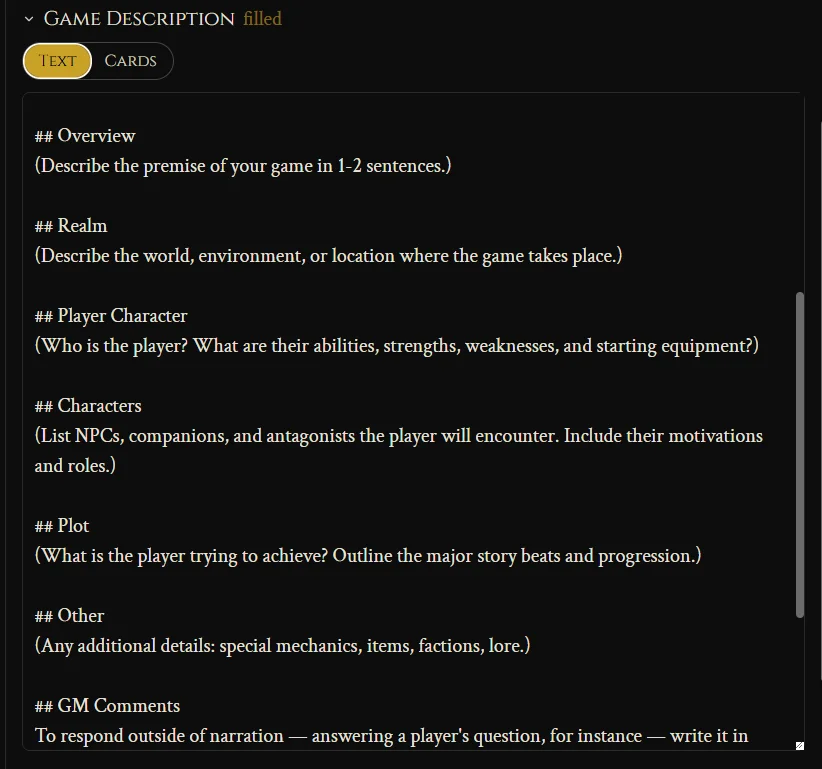
Now for the main part of the creator: the Game Description. Questner starts you off with a set of basic cards that outline every game in its bare bones. Click the > next to a card to see what's written in that section.
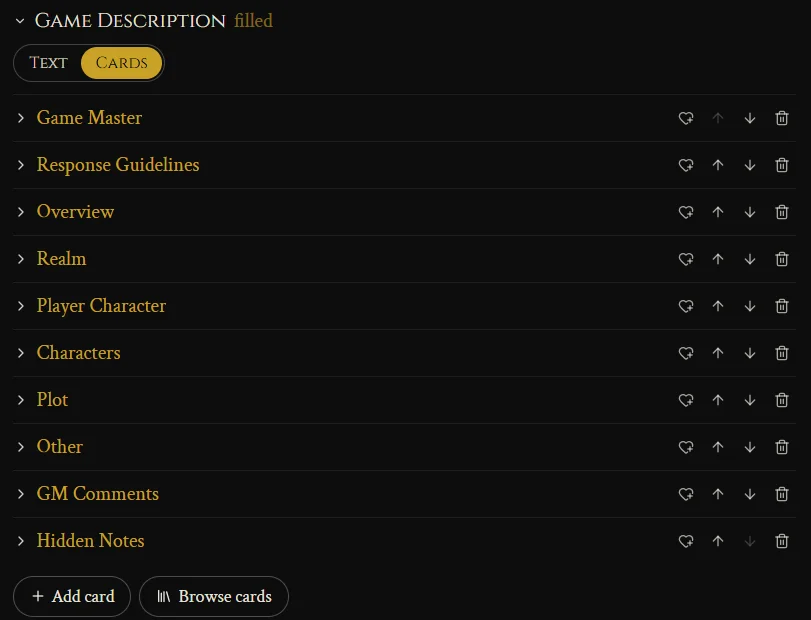
With Browse cards you can add cards made by other creators, like dice-roll systems or ways for NPCs to remember things.
If you prefer, switch the toggle to Text to see the whole description as one block of text.
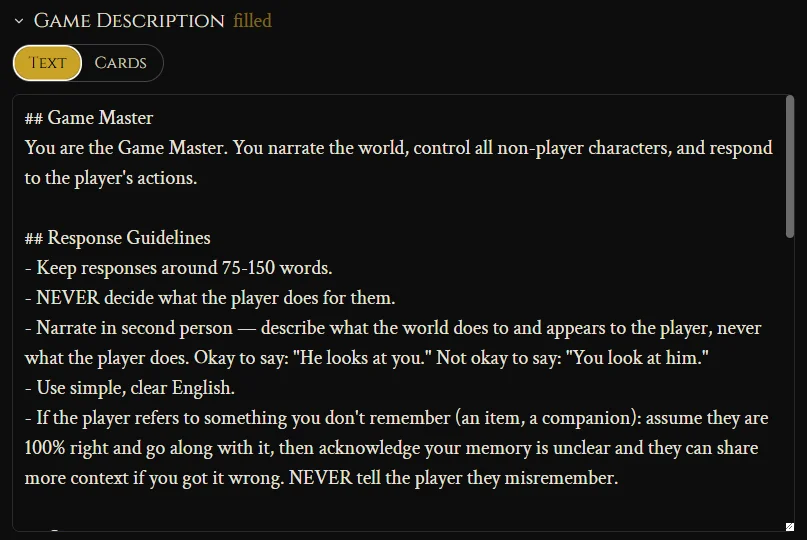
At the beginning most of it will be empty, but you can use the Game Designer AI to fill it in, or add your own flavour.
Stats (optional)
A lot of campaigns work better with a stats panel that updates as you play. It's usually used for health, gold, inventory and whatever else the creator wants to track. But how does it work?
First, it needs to be turned on: expand the Stats section and tick the box that enables stats for the game you're creating.
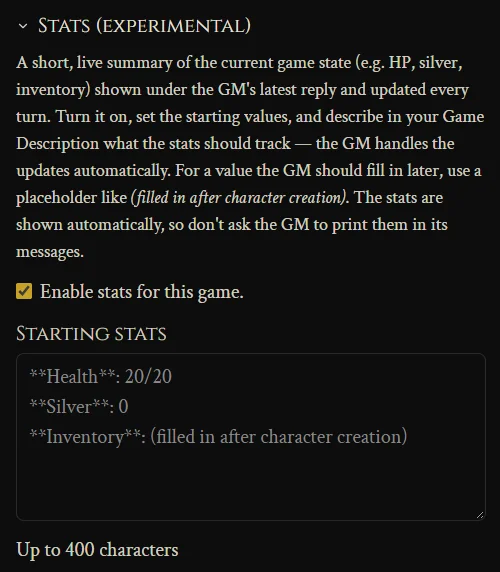
Note that the stats panel holds up to 400 characters, so keep it short and sweet.
Next, the AI game master needs to know how to update the stats. Here's a basic example of what the Game Designer did for me when I asked it to add stats to a bicycle game:
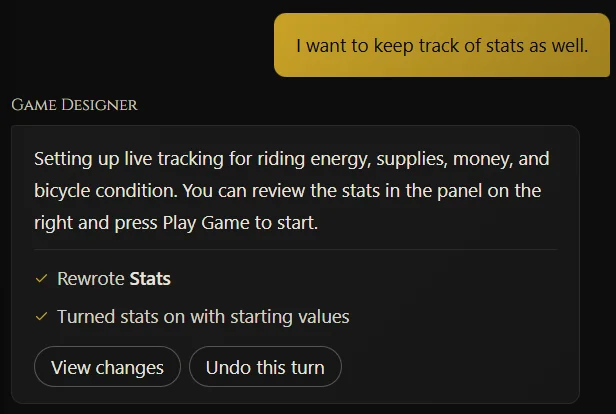
It turned the stats panel on and gave it starting values:
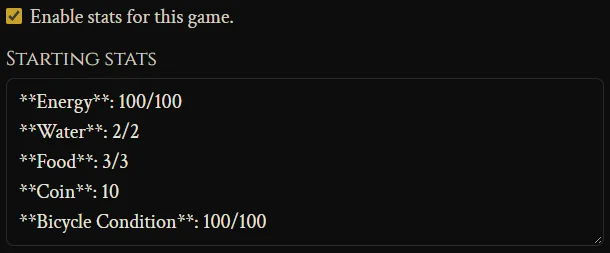
It also added a new card to the Game Description called Stats. This is the link between the game description and the stats panel.
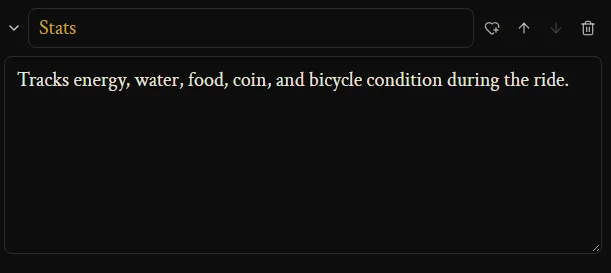
Now the game master knows to update the stats we set. There are more advanced ways to handle stats, which we'll cover in another post, but this should get you going!
Stages
Your game also needs a Stage 1 user message: the opening message a player sees when they start your campaign. If you work with the Game Designer AI, it will usually write one once you tell it what kind of game you want, but you can always write it yourself. It's the first introduction to your game, after all.
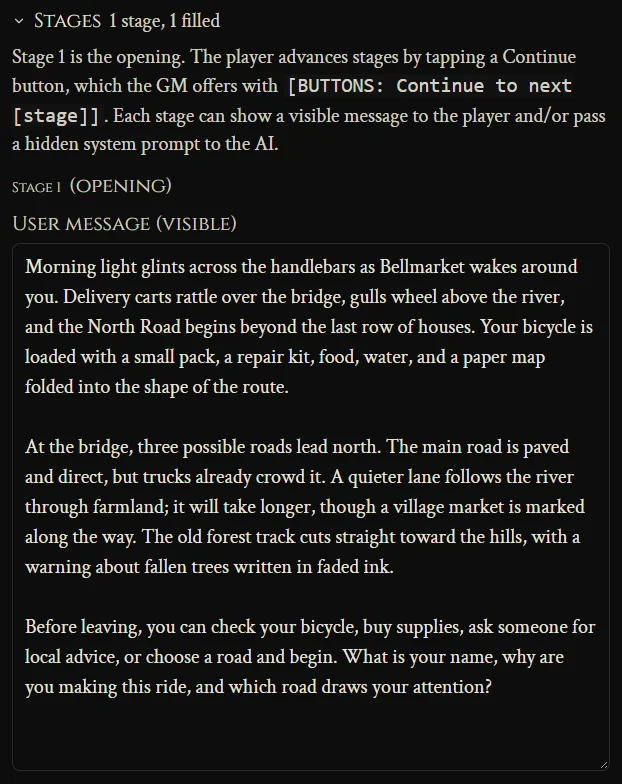
Each stage also has a hidden prompt, which can be used for behind-the-scenes mechanics. Sometimes the AI fills it in, other times you'll need to write it yourself. We'll cover it in another post about the advanced creator options.
Finishing touches
Once your game is set up the way you want it, there are a few finishing touches. The title is one of them, but that speaks for itself.
Before you publish, ask the Game Designer AI to check that all the cards are in the right order, so the game master gets the best possible Game Description. Some sections matter more than others, and the Game Designer will make sure the important things don't get lost. It only costs one message, and it keeps your game fast and the chance of forgetting things as small as possible.
Publishing
Then head to the Publish section.
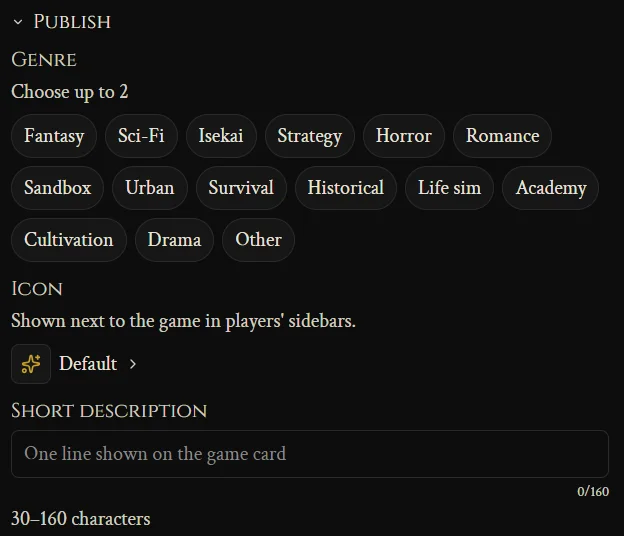
Choose up to two genres, pick an icon to show next to your game's title in the sidebar, and write a short description that tells players at a glance what the game is about. Keep it short, sweet and inviting, so they can't help wanting to know more!
Next, upload your preview image (shown on the game page and in the Questner library) and your start image (shown above the very first message). They can be the same image or different ones; that's up to you.
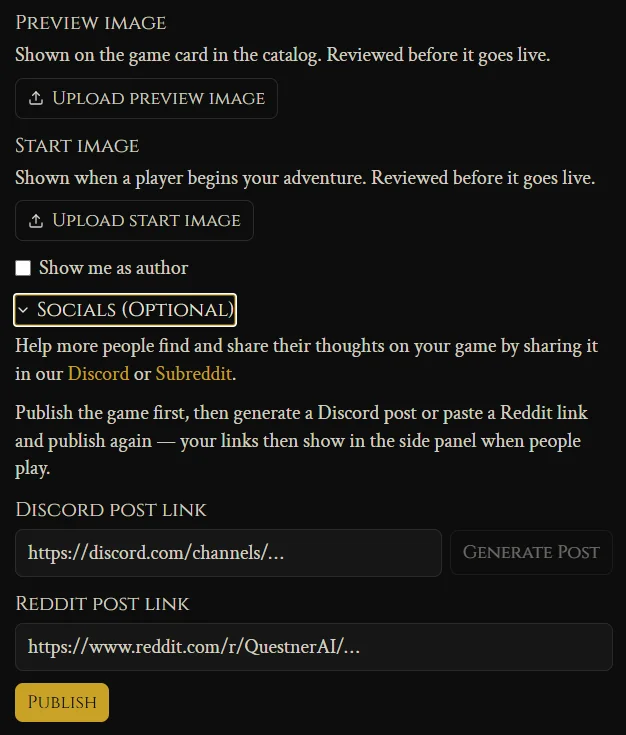
Then decide whether people should see that you made it or whether you stay anonymous (I suggest the former), and click Publish. Your game is now in the Questner library for everyone to find.
Want feedback, or for players to reach out to you? Click Generate post next to the Discord post link to create a thread for your game in our Discord. Players will then see a button that leads straight to it when they play. It really doesn't get any easier than that.
Once you've done that, hit Publish again, and your game is live!